
I've been working really hard on keeping to my 2012 goals. One of them is to have one sewing project each month. Last week I realized I was running out of time so I picked a project that I could do in one or two days.
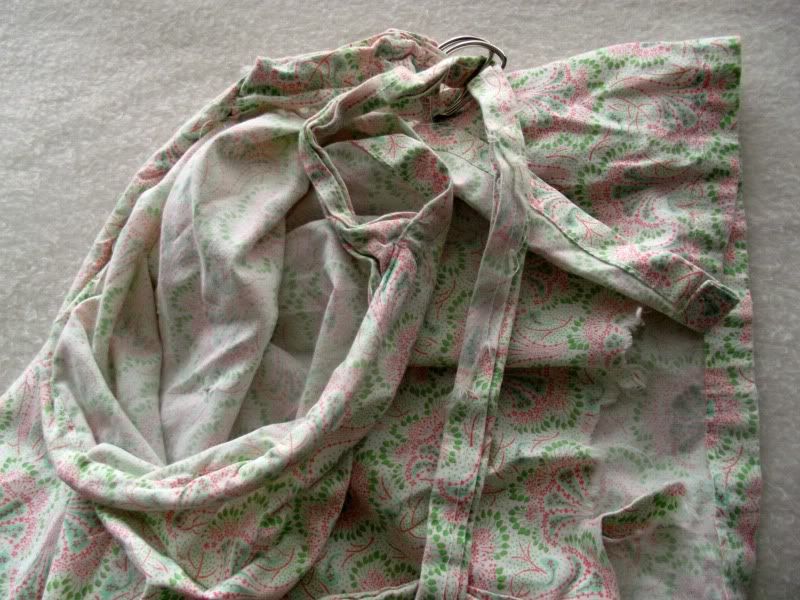
Ever since before Avery was born I intended to make me a nursing cover, but when someone gave me one I had an excuse not to get around to it. Since that nursing cover has since been worn out I thought it was time I made one . Below are the materials I used to make two. As always I picked fabric I already own to lower costs. I got both from my grandma. If you don't know what a nursing cover is this sort of shows you.
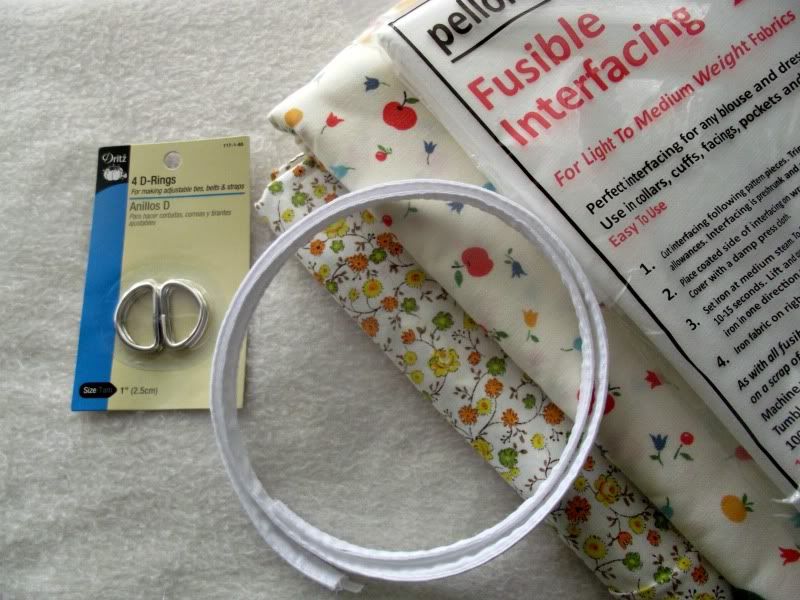 Supplies:
- 36" by 30" fabric
- 8" by 3" fabric
- 30" by 3" fabric
- set of "D" rings
- 15" boning
- interfacing
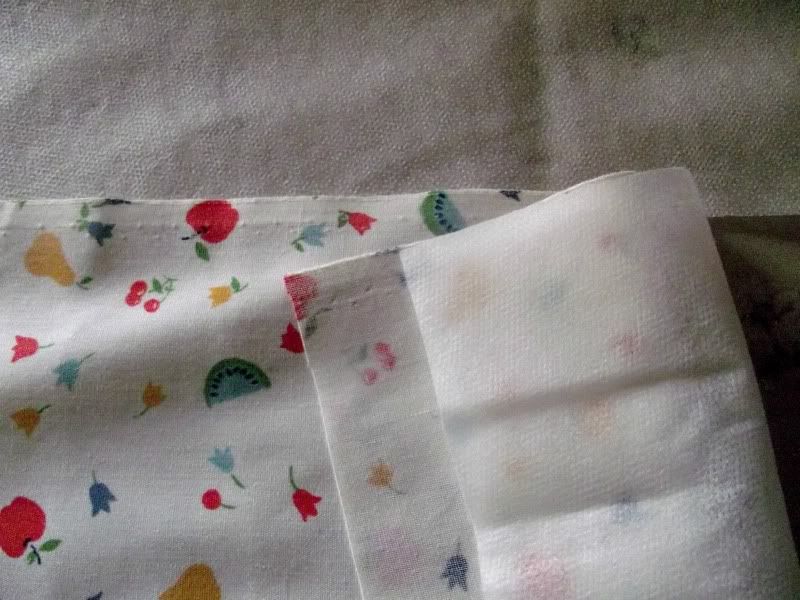
Before I go on I wanted to show you the sorry state of the nursing cover I used with Avery. As you see, it's in poor condition. A friend made it and I used it as a reference point with the ones I made since I didn't use a pattern. I also made a little improvement in using interfacing on the strips of fabric that go around the neck to make them more sturdy and to prevent excessive wrinkling after the first wash.
Iron on the interfacing to the two smaller peices of fabric. This will become the neck part. Make sure you have the interfacing the right way around.
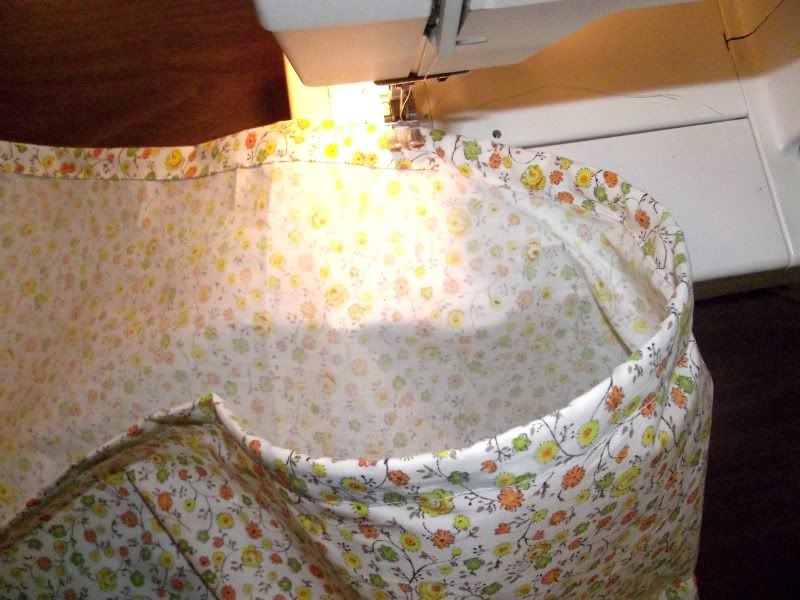
Center the boning on the longer side of the big piece of fabric, fold seam inside and secure with pins before sewing. I found this the trickiest part to sew because the boning is curved. Just take your time sewing so it doesn't look sloppy.
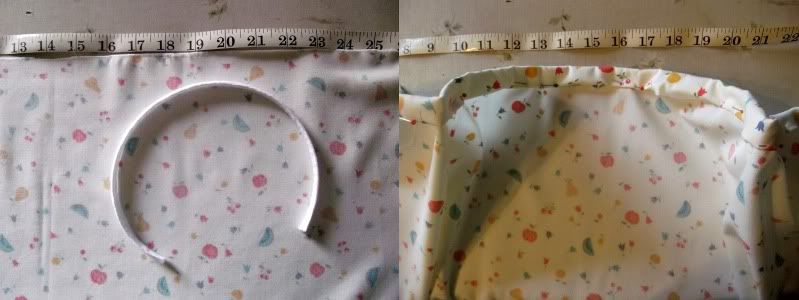
After sewing in boning add a few stitched on both sides in the opposite direction to prevent the boning from sliding.
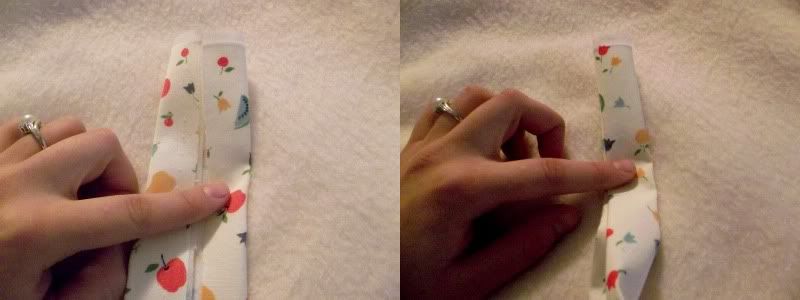
Take your two smaller pieces of fabric and sew the seams inside like below. If necessary pin first. Make sure the ending result is the same size as the width of your "D" rings. I sewed mine to one inch, the size of my "D" rings.
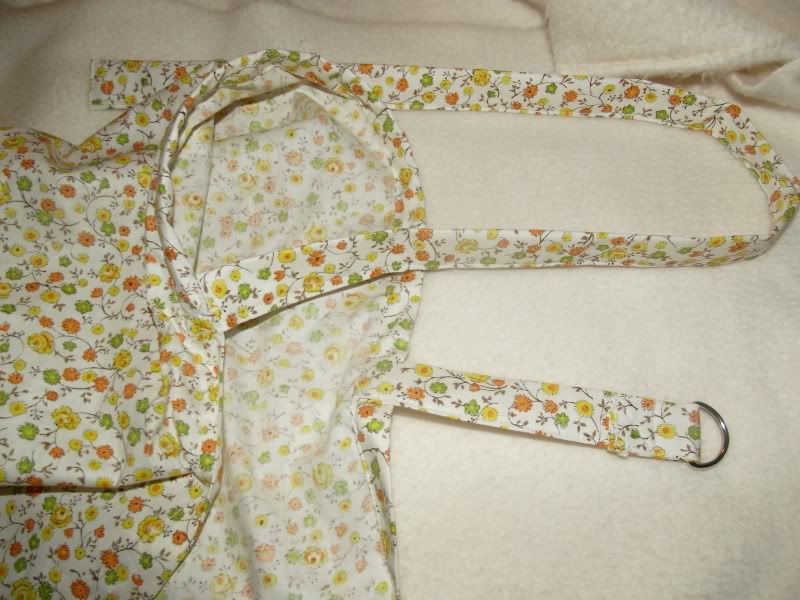
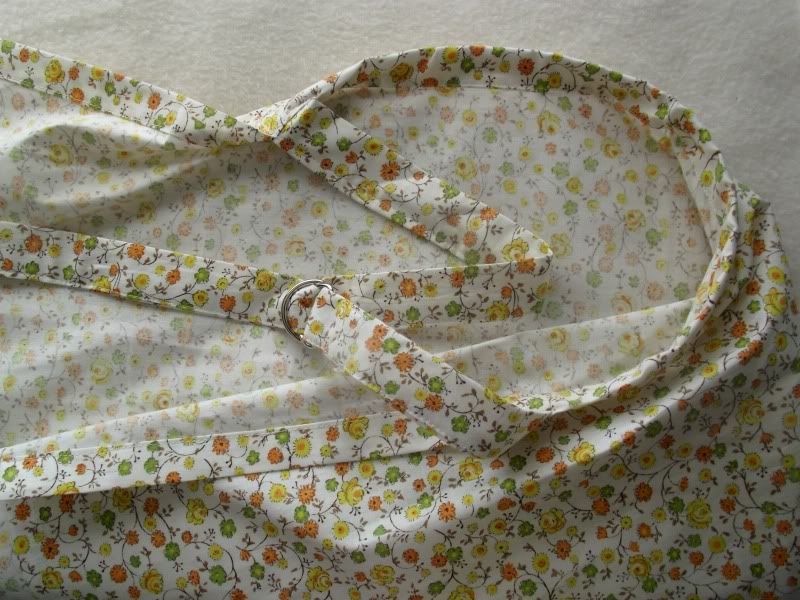
Attach long strips to the big piece of fabric at both ends of the boning. Sew both "D" rings to the smaller side.
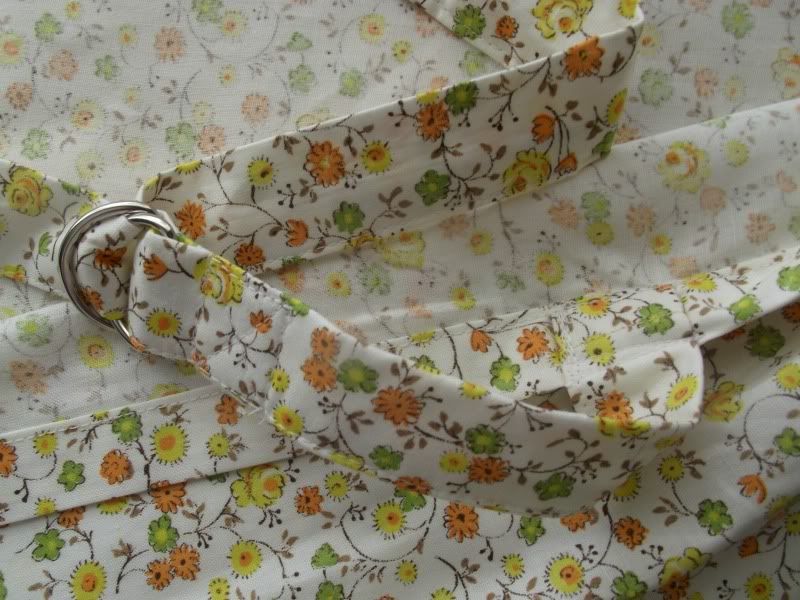
Here's a close up of how I sewed it on.
All you have left to do is to hem the other three sides of the big rectangle and iron. Ironing is important because it gives your sewing project a finished, even professional appearance.
And there you have it!
If you have any questions feel free to comment below.
Considering it only cost me an hour to make and and a few dollars of supplies, this was a good investment of my time and money. They normally sell for $20-$30+ dollars. I think I might make some more as baby shower gifts.
No comments:
Post a Comment